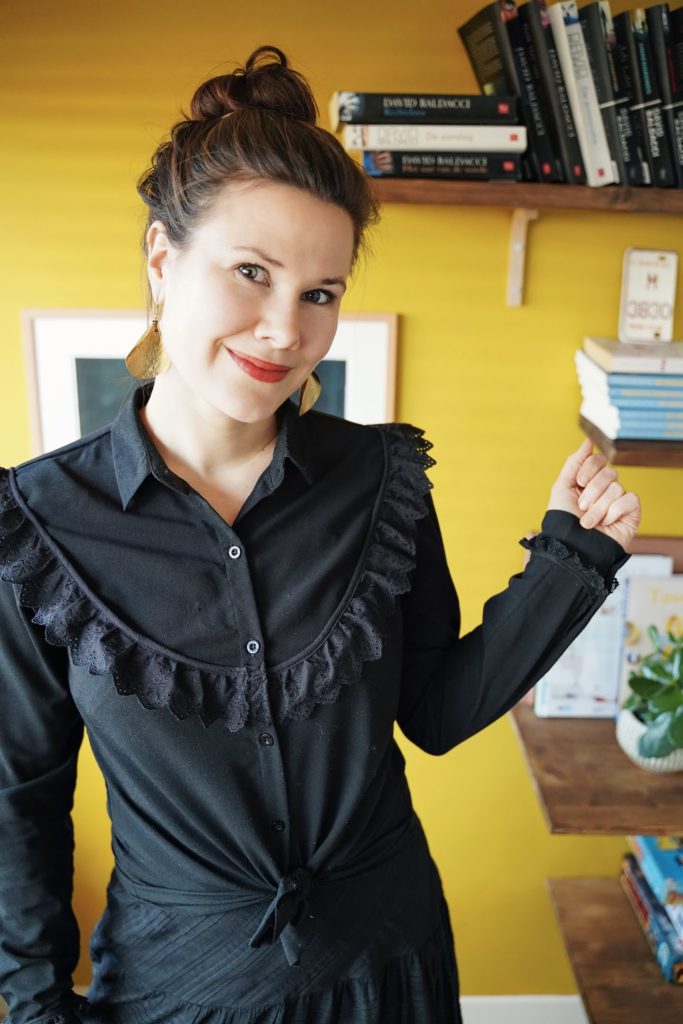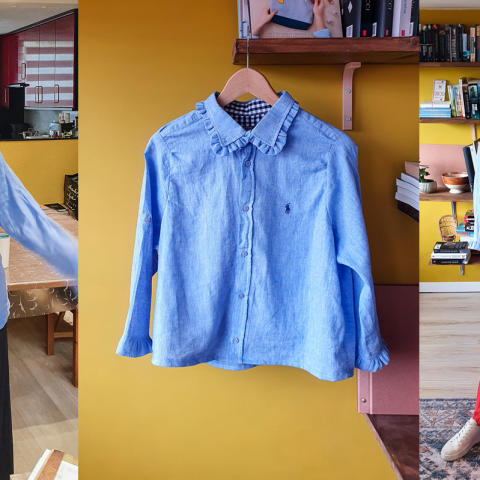


I purchased this black blouse via Vinted about a year ago. It meets all the requirements for a spot in a capsule wardrobe, but every time I tried it on, I didn’t feel like myself.
It’s a fashion problem we all face regularly. You feel drawn to a garment esthetically, so you buy it. However, this doesn’t mean it’s a match with your style and body type. Ergo; you have these gorgeous unused pieces of guilt hanging in your closet, that you are unable to put away because they’re so pretty! And/or, maybe, you’ve invested a lot of money in it.
There are many ways to solve this fashion dilemma. Swap parties, selling, tailoring, etc. But this time I chose a different approach: the thrift flip. You turn old fits into something that’s more wearable and chic. It’s a borrowed term from the real estate industry. Flipping refers to buying a piece of property, doing some work on it, then selling it for more than you bought it for.
You can find tons of thrift flip ideas on TikTok, Pinterest and fashion platforms. But, believe it or not, I came up with this idea all by myself. Considering my below-amateur-level of sewing, I didn’t feel comfortable making a DIY video. So I didn’t. Many things went wrong, it would’ve turned out like a America’s Funniest Home Video. The mistakes are okay though, I learned a lot and I’m satisfied with the end result.
What do you need
- Sewing Machine
- Scissors
- Pins
- Seam ripper
- Measuring tape
- Ruffled ribbon
- Thread that matches the color of the ribbon
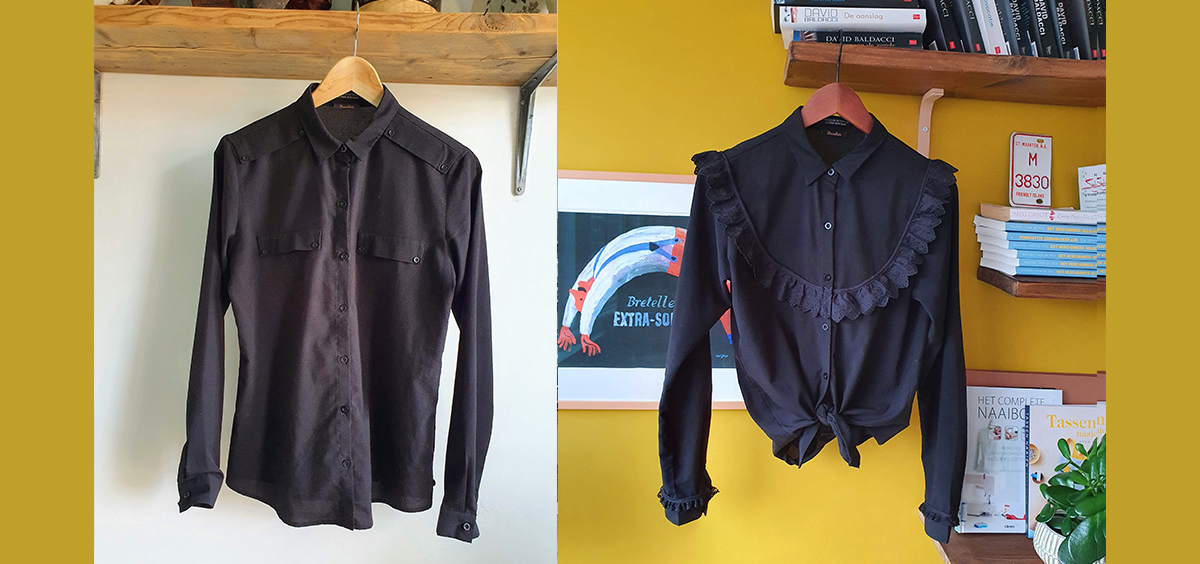
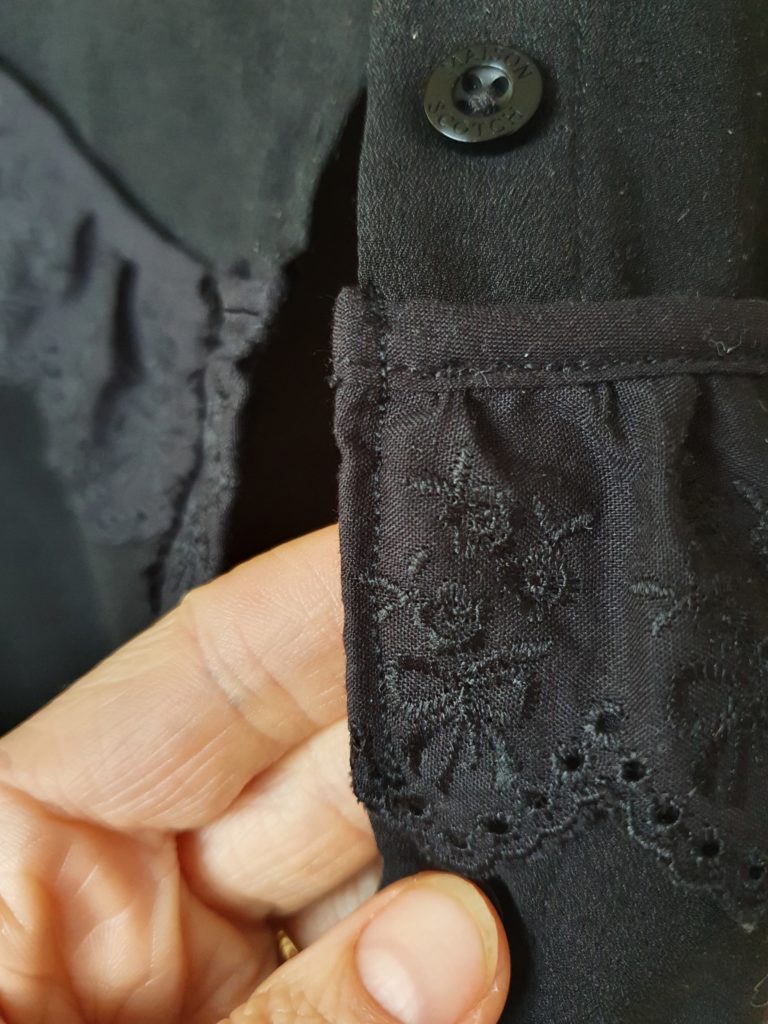
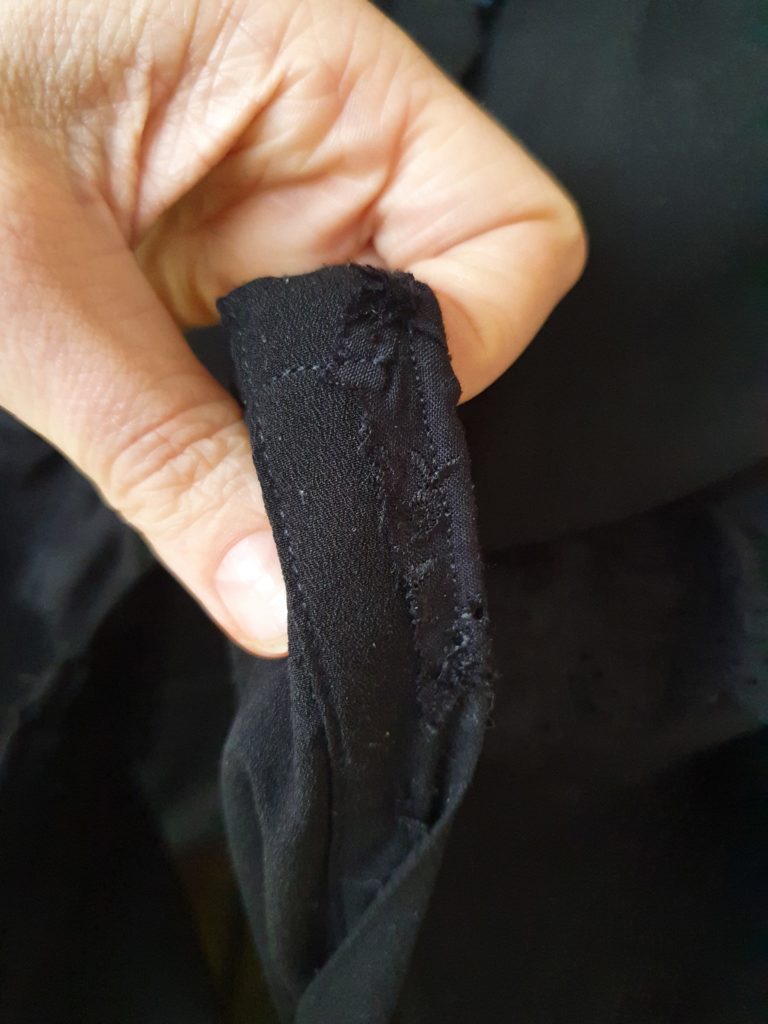
Remove unwanted pockets
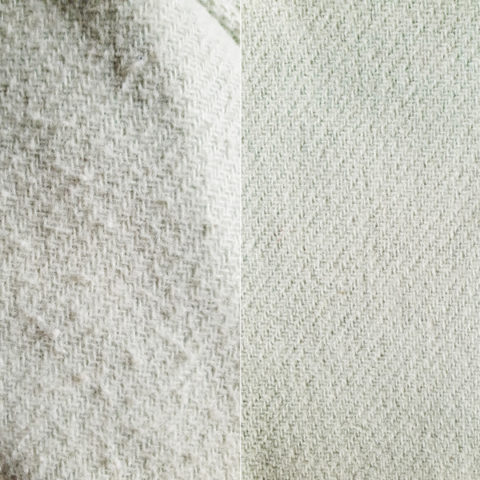
First, I removed the faux breast pockets and shoulder patches with a seam ripper. This sounds simple, but this can easily go wrong, especially with delicate fabric. And so it did in my case, ripping the fabric. Start very, very gentle. This way you get a feeling how much pressure the fabric can take. This may take a while, but the result is worth it.
Release wrinkles in the fabric
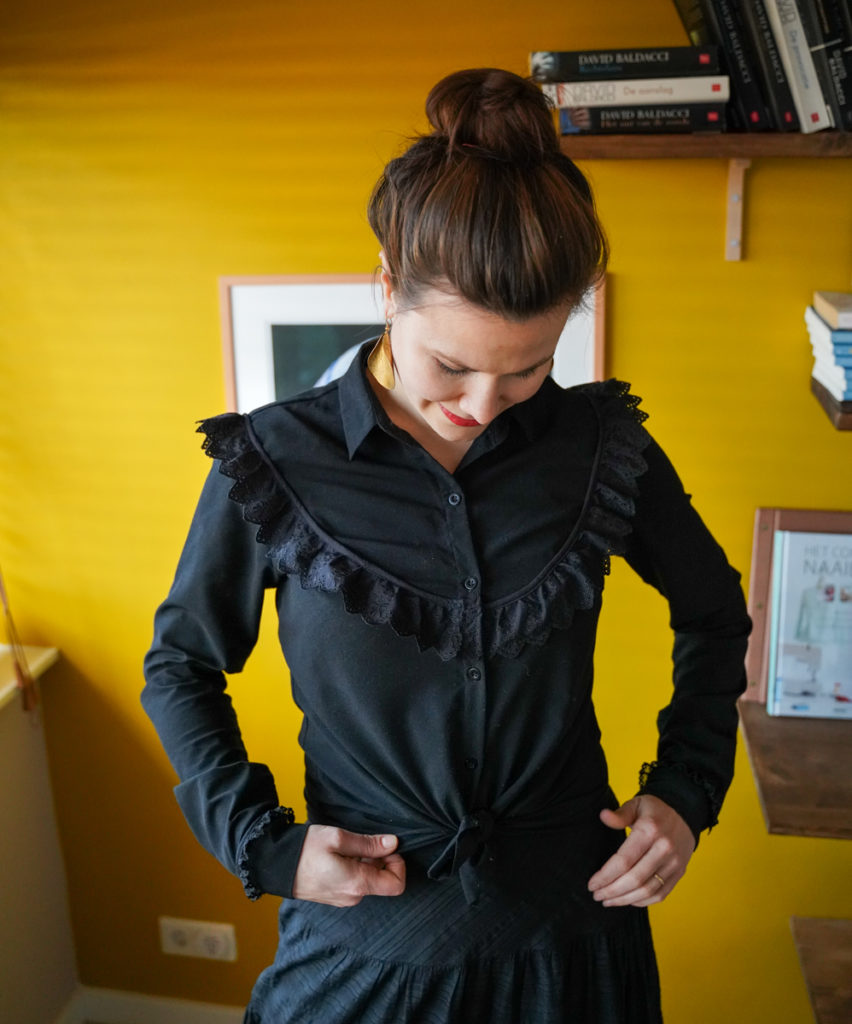
Once you’ve removed the pockets, iron the fabric and make sure your iron works properly in advance. My old iron immediately burned a hole in the blouse. That’s why I was forced to turn it into a cropped model through a knot. The worst part is: I have a steamer that could’ve released wrinkles in the fabric in a perfectly save way.
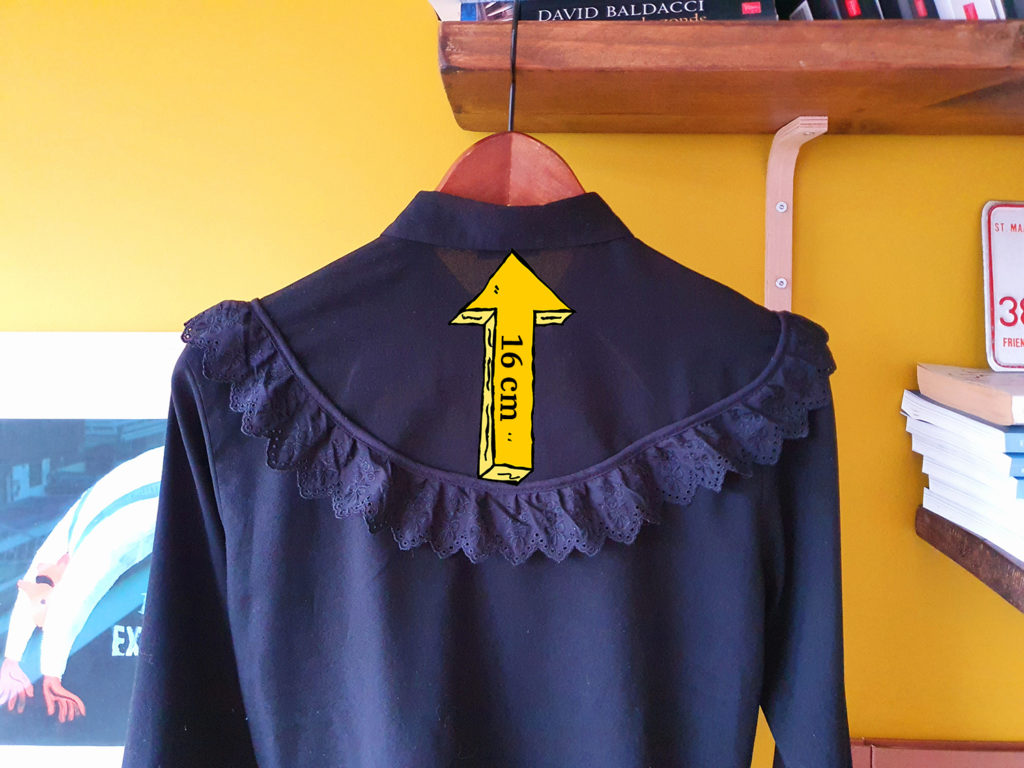
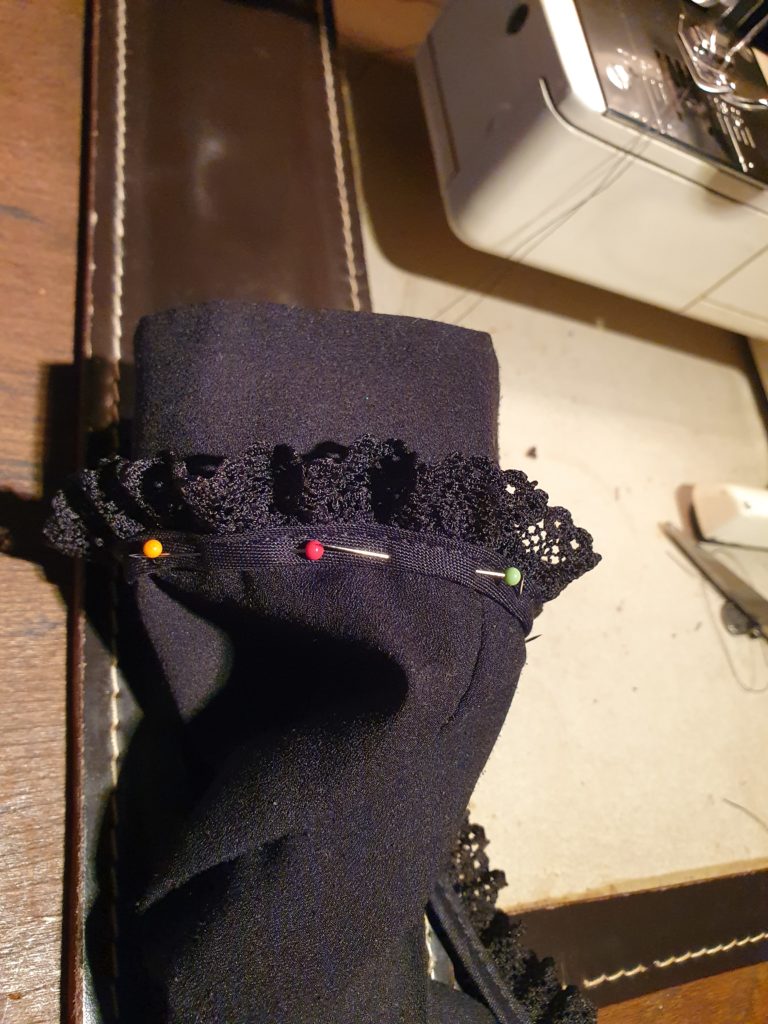
Pin the ruffles
Pin the ribbon in a round shape. These are the measurements I stuck to:
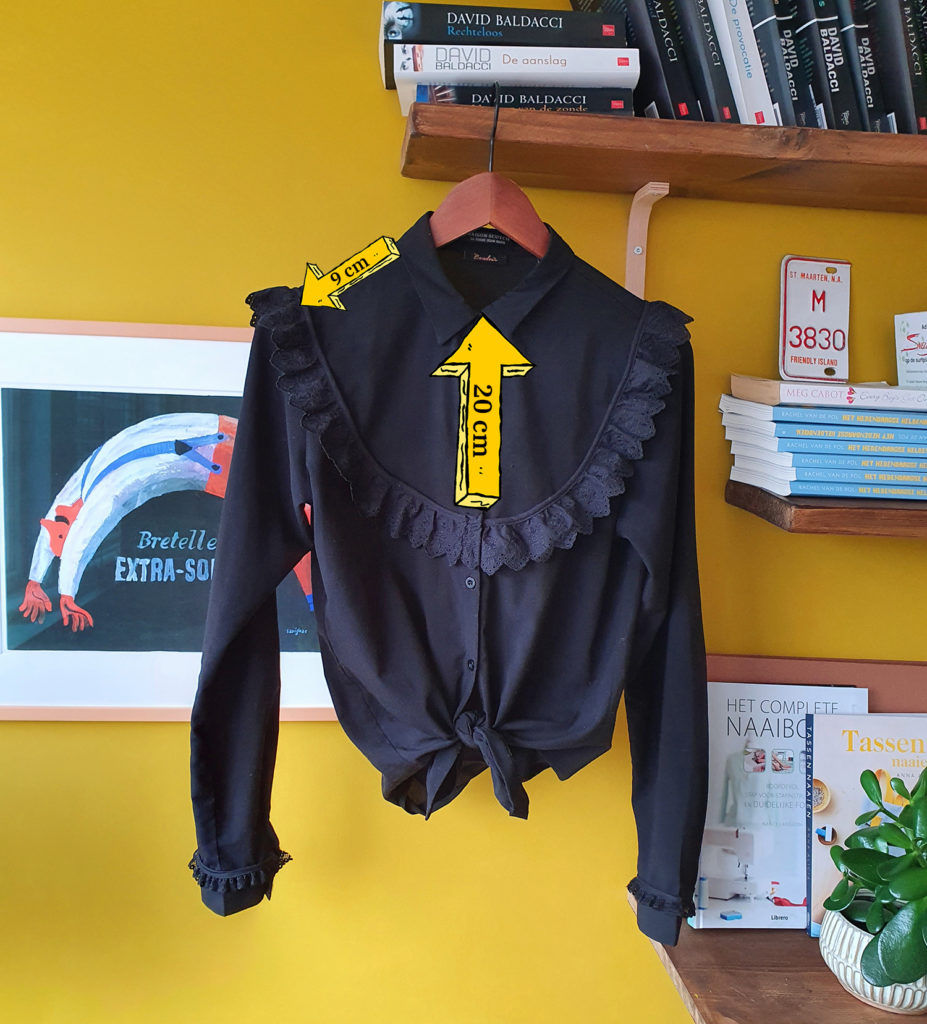
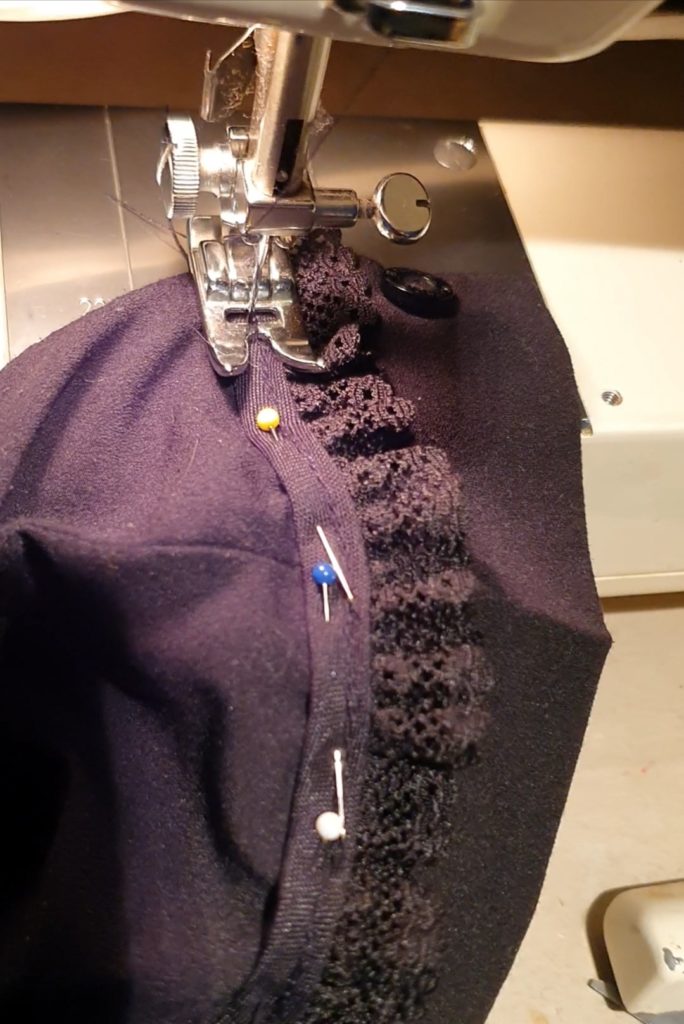
Start stitching
I used a needle suited for heavier fabrics, because the finish of the ribbon where you have to stitch, is quite thick. Tip: don’t cut the ribbon until you’ve finished the stitching. Again, this is what I did. While stitching I noticed unwanted folds in the fabric. When I straightened this out, I ended up short of ribbon. I had to cut, match and stitch another piece of ribbon to make the ruffled circle complete. It was a pain in the ass which I could’ve avoided.
Always make sure to stitch backwards for a couple of stitches at the start and the end, to anchor your stitches.
For the finishing touch: fold the ribbon around the hemline of the blouse and anchor it with a vertical stitchline.
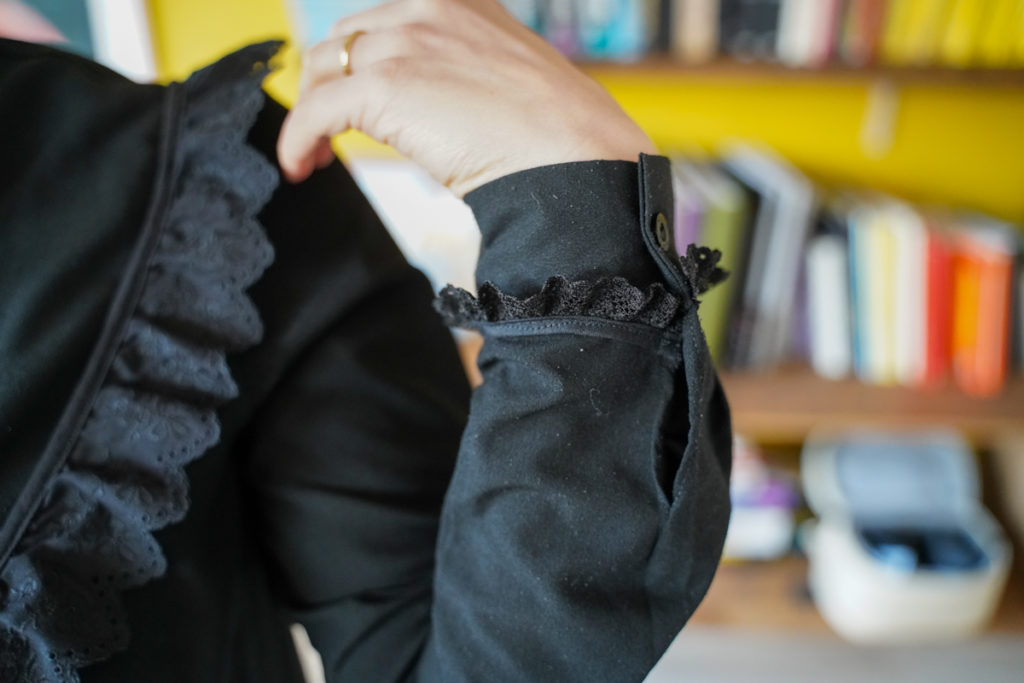
Ruffled sleeves
To add more flamenco vibes, I decided to ruffle up the sleeves as well. For this I used a more petite ruffle. Again, attach the ribbon around the sleeves with lots of pins and start stitching.
Cut the ribbon at the end, and caramba! Venga! You did it! If you have any questions about this thrift flip, let me know. I’m no professional, but despite the many mistakes, I did manage to bring this to a satisfying end.